Introduction to Generative Adversarial Networks (GANs)
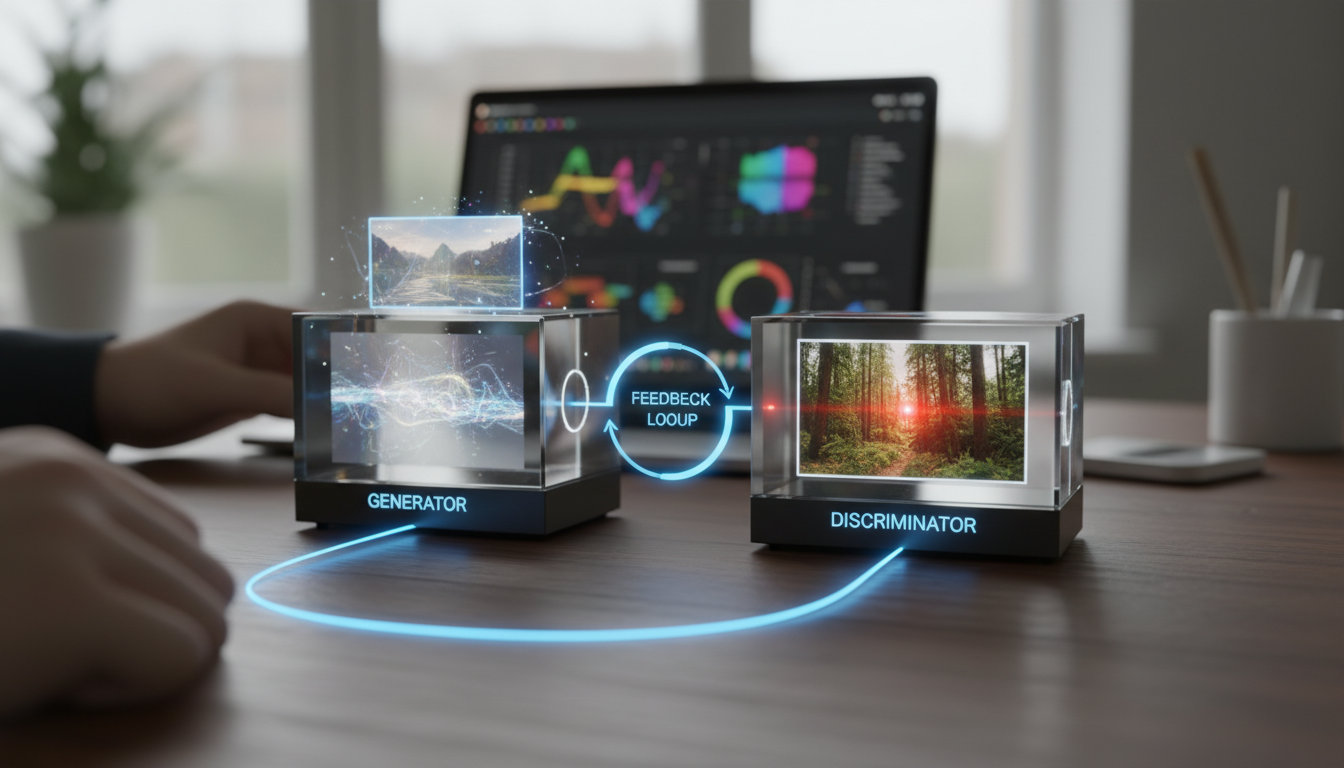
Generative Adversarial Networks, or GANs, are a fascinating subset of machine learning that have revolutionized how we generate synthetic data, particularly images. Invented by Ian Goodfellow in 2014, GANs consist of two neural networks - the generator and the discriminator - that compete against each other in a game-like setup. The generator creates fake data, while the discriminator tries to distinguish it from real data. This tutorial will guide you through building and training a simple GAN using Python and TensorFlow, helping you understand the core concepts and implement them step by step.
By the end of this guide, you'll have a working GAN that can generate basic images, such as handwritten digits similar to those in the MNIST dataset. This hands-on approach is perfect for AI enthusiasts looking to dive deeper into generative models without prior advanced experience. Let's get started!
Prerequisites for Building Your GAN
Before we jump into the code, ensure you have the necessary tools and knowledge. You'll need Python installed (version 3.8 or higher), and some key libraries: TensorFlow for building the neural networks, NumPy for numerical operations, and Matplotlib for visualizing results. If you haven't installed TensorFlow yet, you can do so via pip: pip install tensorflow. Familiarity with basic Python programming and concepts like arrays and loops will be helpful, as will a foundational understanding of neural networks.
Here's a quick list of what you'll need:
- Python 3.8+
- TensorFlow 2.x (or later)
- NumPy for data handling
- Matplotlib for plotting generated images
- A code editor like VS Code or Jupyter Notebook for testing
If you're new to machine learning, consider reviewing basic tensor operations in TensorFlow to make this tutorial smoother.
Setting Up Your Environment
First, let's set up a simple environment for our GAN. Create a new Python script or Jupyter Notebook and import the required libraries. We'll use TensorFlow's Keras API, which simplifies building neural networks.
Start by importing the essentials:
import tensorflow as tf
from tensorflow import keras
import numpy as np
import matplotlib.pyplot as plt
This code sets the stage for defining our models. We'll also load the MNIST dataset, which contains 28x28 pixel images of handwritten digits. It's a great starting point because it's simple and readily available in TensorFlow.
Load the dataset like this:
(train_images, _), (_, _) = keras.datasets.mnist.load_data()
train_images = train_images.reshape(train_images.shape[0], 28, 28, 1).astype('float32')
train_images = (train_images - 127.5) / 127.5 # Normalize the images to [-1, 1]
Normalization is crucial here because GANs perform better with data scaled between -1 and 1.
Building the Generator Network
The generator is responsible for creating fake images from random noise. It takes a vector of random numbers as input and outputs a 28x28 image. We'll use a simple fully connected network for this.
Define the generator model:
def build_generator():
 model = keras.Sequential([keras.layers.Dense(256, input_shape=(100,)), # 100-dimensional noise vector
 keras.layers.LeakyReLU(alpha=0.01),
 keras.layers.Dense(512),
 keras.layers.LeakyReLU(alpha=0.01),
 keras.layers.Dense(1024),
 keras.layers.LeakyReLU(alpha=0.01),
 keras.layers.Dense(28 * 28 * 1, activation='tanh'), # Output shape for 28x28 image
 keras.layers.Reshape((28, 28, 1))])
 return model
generator = build_generator()
In this code, we're using LeakyReLU activations to avoid the dying ReLU problem, and the final layer uses a tanh activation to match our normalized data range.
Building the Discriminator Network
The discriminator is a classifier that determines whether an image is real or fake. It takes an image as input and outputs a probability score.
Here's how to build it:
def build_discriminator():
 model = keras.Sequential([keras.layers.Flatten(input_shape=(28, 28, 1)),
 keras.layers.Dense(1024),
 keras.layers.LeakyReLU(alpha=0.01),
 keras.layers.Dense(512),
 keras.layers.LeakyReLU(alpha=0.01),
 keras.layers.Dense(256),
 keras.layers.LeakyReLU(alpha=0.01),
 keras.layers.Dense(1, activation='sigmoid') # Binary classification])
 return model
discriminator = build_discriminator()
discriminator.compile(optimizer='adam', loss='binary_crossentropy')
We compile the discriminator with binary cross-entropy loss, as it's a binary classification task (real vs. fake).
Training the GAN
Now, the fun part - training! We'll alternate between training the discriminator and the generator. First, set up the GAN model by combining them.
Create the GAN model:
discriminator.trainable = False # Freeze discriminator during generator training
gan = keras.Sequential([generator, discriminator])
gan.compile(optimizer='adam', loss='binary_crossentropy')
Train for 50 epochs (you can adjust this):
batch_size = 32
epochs = 50
for epoch in range(epochs):
 # Train discriminator
 noise = np.random.normal(0, 1, (batch_size, 100))
 generated_images = generator.predict(noise)
 real_images = train_images[np.random.randint(0, train_images.shape[0], batch_size)]
 X = np.concatenate([generated_images, real_images])
 y = np.zeros(2 * batch_size)
 y[batch_size:] = 1 # 1 for real, 0 for fake
 discriminator.trainable = True
 d_loss = discriminator.train_on_batch(X, y)

 # Train generator
 noise = np.random.normal(0, 1, (batch_size, 100))
 y_gen = np.ones(batch_size) # Trick the discriminator
 discriminator.trainable = False
 g_loss = gan.train_on_batch(noise, y_gen)

 if epoch % 10 == 0:
 print(f'Epoch {epoch}, D Loss: {d_loss}, G Loss: {g_loss}')
This loop trains the networks iteratively. As training progresses, the generator improves at creating realistic images.
Visualizing the Results
After training, generate and plot some images to see the results:
noise = np.random.normal(0, 1, (1, 100))
generated_image = generator.predict(noise)
generated_image = generated_image.reshape(28, 28)
plt.imshow(generated_image, cmap='gray')
plt.show()
This will display a generated image. Initially, it might look noisy, but with more epochs, it should resemble handwritten digits.
Troubleshooting Common Issues
GAN training can be unstable. If your generator isn't improving, try adjusting the learning rate in the optimizer or increasing the batch size. Also, ensure your hardware supports GPU acceleration for faster training.
- Mode collapse: The generator produces limited variations. Solution: Experiment with different architectures.
- Vanishing gradients: Use techniques like spectral normalization if needed.
- Overfitting: Monitor losses and validate with a separate set.
Conclusion and Next Steps
Congratulations! You've just built and trained a basic GAN for image generation. This tutorial covered the essentials of GAN architecture, from setup to visualization, giving you a solid foundation in generative AI. As you experiment further, consider scaling this to more complex datasets or adding variations like conditional GANs. Keep exploring AI tools and libraries to enhance your skills in machine learning.